Step 1
Hold the lens or magnifying glass against one of the shorter sides of the box. Draw its outline using the pencil.
Step 2
Cut out the hole for the lens or magnifying glass using the craft knife. Cut the circle slightly smaller than the outline. Only an adult should use the craft knife.
Step 3
Make a triangular stand for the phone using a spare piece of cardboard by making two lengthwise folds and forming a triangular shape. Secure the stand using tape.
Step 4
Hold the lens/magnifying glass inside the box, aligning it with the circular opening. If the lens has a flat surface on one side, the outwardly- curved surface should be facing outwards. Fasten it in place using tape.
Step 5
Place the box in front of a plain white wall and turn down the lights. Play a video on the smartphone and hold it inside the box, facing the projector’s lens. Move the smartphone closer to and further away from the lens and mark the position which gave the best image.
Step 6
Align the smartphone stand to the marking and tape it to the bottom of the box.
Step 7
Turn the smartphone so that the image is upside down and rest it against the stand.
Step 8
Observe the image on a plain wall. To change the image quality, try moving the box closer to the wall or further away.
- Craft knives are very sharp. Only adults should use these knives. Replace the guard after every use and keep out of reach of young children.
- Clean the lens using a soft cloth to improve the quality of the results. Abrasive materials can damage the lens.
The illuminated phone screen throws out rays of light. These rays of light travel into our eyes and that is how we can see the images on the screen.
Let’s each hop onto one of those rays leaving the screen and journey with it through the lens. Imagine the ray is your little vehicle. The rays we’re travelling on leave the phone screen and travel towards the lens. These particular rays move parallel to the principal axis of the lens. This axis is just a line passing through the centre of the lens and perpendicular to the vertical centreline of the lens (drawing a diagram would really help the explanation).
So now we’ve reached the lens. The medium our rays are travelling through changes from air to the material of the lens, which causes them to slow down. We can think of the medium as the road on which we’re driving our vehicle – transitioning from one material to another causes a slowing in the rays just like turning into a road with a lower speed limit means we would need to decrease the speed of our vehicle. This slowing down causes our rays to change direction. Upon leaving the lens, the rays gain speed – we have rejoined the faster road.
The bending effect of the lens has changed our direction of motion. In fact, much like a traffic conductor or a guiding GPS system, the lens has ensured that all of our rays, no matter where they came from on the screen of the phone, all meet at the principal focus. When our light rays meet, a clear and focused image is formed on the wall.
Why is the image of poor quality?
Light washout, poor image contrast, dirty lens, poor focus adjustment.
What happens if the phone is placed very close to the magnifying glass?
Magnification; no ray convergence at the output of the lens resulting in a virtual image.
Why does the lens bend light?
It has a different refractive index to the air.
What happens if the phone’s screen is dimmed?
Image quality decreases.
Why is the phone upside down?
Lens inverts the image.
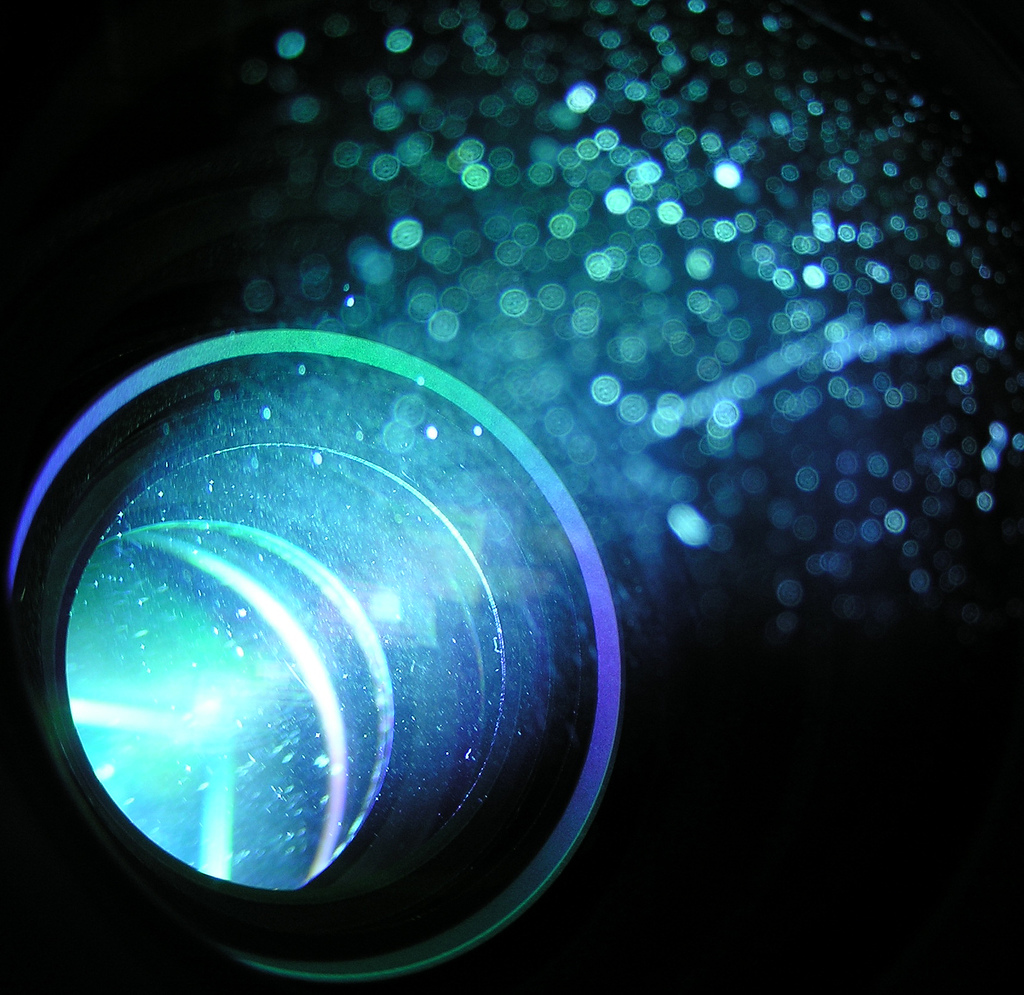
The projector used a convex lens. This type of lens is widest at the centre and thinnest at the edges. The lens converges rays of light travelling parallel to its principal axis. This results in the formation of a focused image. The principal focus of the lens is the point in front of the lens where the converged rays meet. The distance between the middle of the lens and the principal focus is called the focal distance, F. The distance between the smartphone and the lens affects the size, clarity and inversion of the image on the screen.
In this case, the camera was placed at a distance between F and 2F away from the lens. This positioning results in a magnified, inverted and real image on the wall. The term ‘real’ means that the light rays converged in order to form the image. Since the lens inverts the image on the phone’s screen, the image must be fed into the lense upside down. The fact that the phone’s screen was brightly and evenly lit helps improve image quality.
The convex lens bends light through the process of refraction. When light rays pass between media with different refractive indexes, they are bent in accordance with Snell’s law, in Equation 1. Hence, refraction occurs at the boundaries where light rays enter and exit the lens. Poorly manufactured lens materials, which may not have a uniform refractive index, may impact image quality.
η1sin(θ1) = η2sin(θ2) [1]
Where: 1 and 2 are the refractive indices of the the incident and refractive materials, respectively. 1and 2are the angles of incidence and refraction, respectively.
Recall the rules of refraction:
Rule one: Incident rays which travel parallel to the principal axis are refracted by the lens and pass through the principal focus (also known as the focal point).
Rule two: Rays travelling through the principal focus of the lens will leave the lens parallel to the principal axis and thus pass through the principal focus on the other side.
Rule three: Rays travelling through the centre of the lens will pass through the lens without any change in direction.
All three standard rays mentioned above intersect at the principal focus. Rays which can not be classified as one of the three standard rays will not pass through the focal point of the lens.
In order for the image to be real, the minimum distance between the object and the lens must be at least 4F. In order to obtain the magnified but real image, the phone was placed at a distance between F and 2F from the lens. The image was formed somewhere beyond 2F, on the other side of the lens. The total distance between the phone and the image was at least 4F.
Application
Projectors are an integral part of modern communication. They are used for home cinema, in the education sector, for conferencing and throughout the entertainment industry. Tech companies compete viciously to produce products capable of full HD and 4k colour.
New projection products aim to create an immersive experience. IllumiRoom, a Microsoft research project, adapts images to bring a whole room to life. Gaming projectors are adopting a similar concept. Projectors which are capable of augmenting any surface to become a touchscreen are currently in the research phase, but hold a lot of promise.
Research
The next step in the development of augmented and virtual (AR/VR) reality technology is the design of AR/VR glasses which have the appearance of normal eyewear. Until recently, the complex and bulky electronics required made this dream impossible to realise. However, current research aims to use a Finnish laser, which is 97% smaller than its immediate competitors, to produce a tiny projector capable of producing high quality images. Phase I of the research confirmed the economic and technical viability of the research. Part II is now focused on miniaturization of the required technology and product design.
- What happens to the image on the wall when the smartphone is turned the right way up inside the box?
- How does varying the distance between the smartphone and the lens effect image quality?
- How does varying the distance between the projector and the wall effect the image quality?
- Do you have other magnifying lenses? Try and alternate between different lenses to see if any difference is observed.


![Colour Mixing with an RGB LED [Arduino] (steamexperiments.com)](http://steamexperiments.com/wp-content/uploads/2017/09/RGB-LED.jpg)

